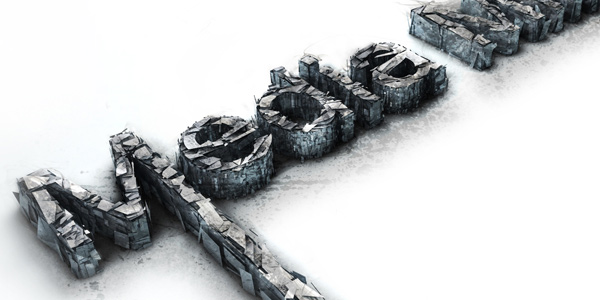
I’m going to show you how to make a 3D text shatter effect. This effect is made in two programs, Cinema 4D and Photoshop.If you haven’t heard of Cinema 4D before it is a relatively easy to use 3d application, it is quite similar to 3dsMax or Maya. I will go pretty in depth with the Cinema 4D part, for all the inexperienced users, so bare with me if I go too slow. Now enough chit chat, let’s jump in.
Required Resources
In this tutorial we will be using some resources you will want to download before starting:
(Optional) Cinema 4d material
note: you will have to make an account to be able to download this material, it is well worth the effort though since it is one of the biggest c4d material providers on the web!
Final Image Preview
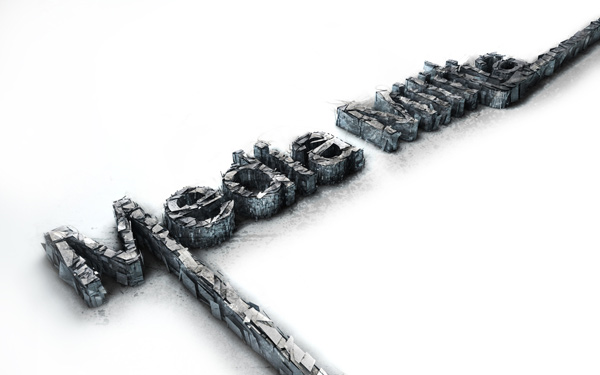
Step 1: Creating the basic text
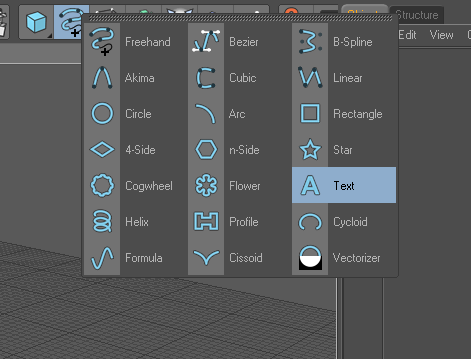
Open up Cinema 4D and make a text object
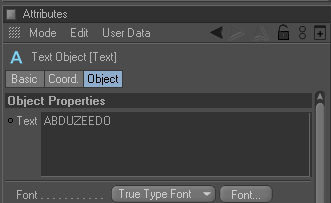
Write “Media Militia” in the text object
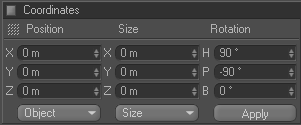
Now rotate your text object: 90* on the X axis and -90* on the Y axis
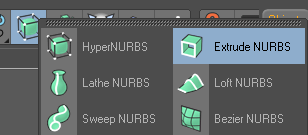
Create an Extrude NURBS object
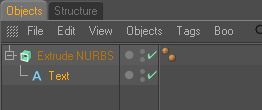
And drop your text in it
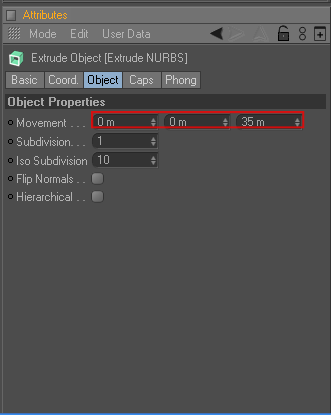
Change the object properties of the Extrude NURBS to 0 / 0 / 35
Now take your ExtrudeNURBS object and hit “C” (this makes your object editable)

Open this object and select everything (Ctrl+A) then right click your object and press “Connect”
You can now delete your old object that you just “Connected”
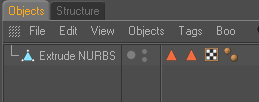
Rename your object “Media Militia”
Take the polygon tool and the Rectangle Selection tool, make sure to un check the “only select visible elements” box
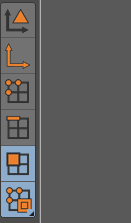


Now with the scroll button of your mouse click on your “canvas” and you will see that four different views just opened up, we will be using the top view
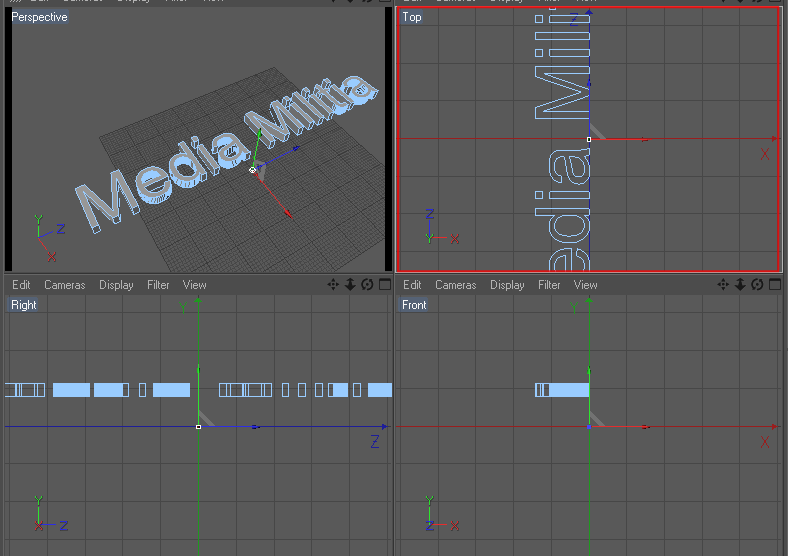
So middle click on the top view to make that view bigger, and select the first “M” letter of Media Militia right click on it and press “Split”
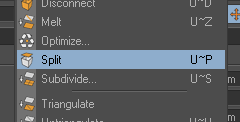
This creates a new object with just the “M” now delete the selection you have selected, this will delete the “M” from Media which leaves you with an “M” object and a “edia Milita” object. Rename the object you just split to “M”

Now go back to your “Media Militia” object and select and split the “t”, just as we did with the “M”. Delete the “t” from your Media Militia object and rename the “t” you just split to “t”

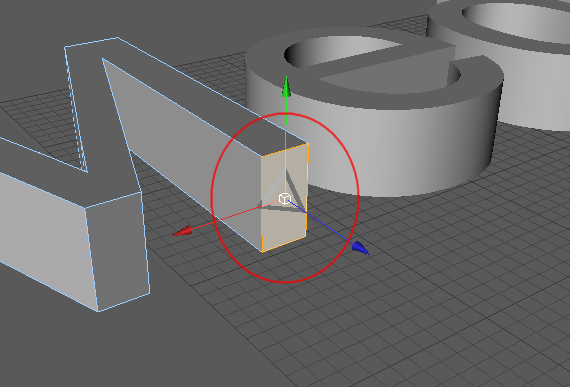
Middle click on your screen and go back to perspective view. Take the Live Selection tool and on your “M” object select the shown polygon:
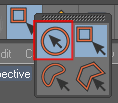
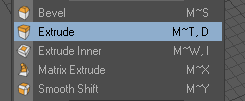
Right click on your screen and select “Extrude”
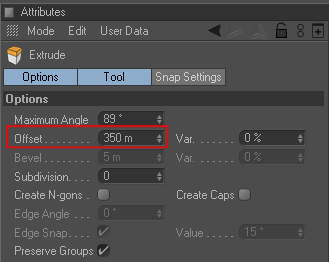
Add 350 to the offset
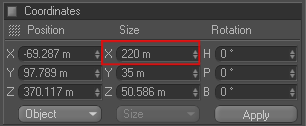
Go into Top View and select your “t” object, press Ctrl+A (to select all the polygons) then take your Scale Tool and scale up the X axis (or the red axis) to 220

Go back to Perspective View and select the shown polygon with the Live Selection tool

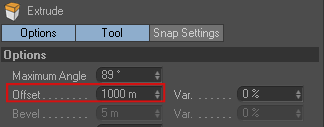
Right click on your screen and select Extrude and add 1000 m in the Offset
Take your Use Model tool and the Live Selection tool

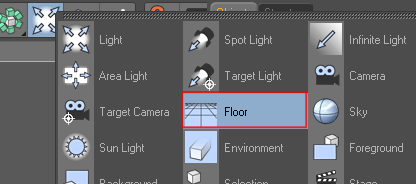
Make a floor
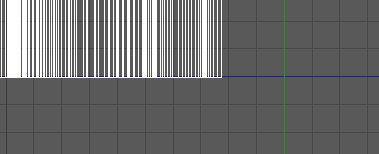
Go into Right View, select your three text objects and move them right on top of your floor
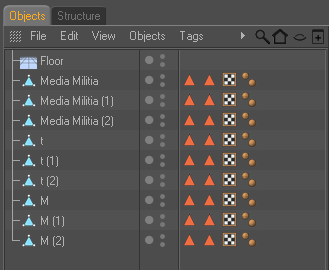
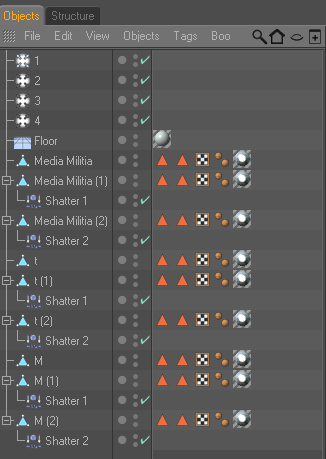
Now make two copies of each text object, and place each copy underneath it’s original, name each object as shown below
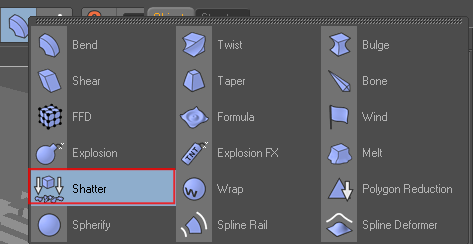
Create a Shatter Object and copy it, name one shatter object “Shatter 1” and the other one “Shatter 2”
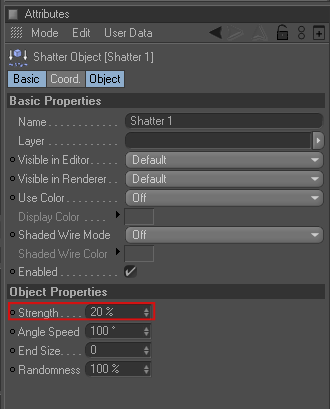
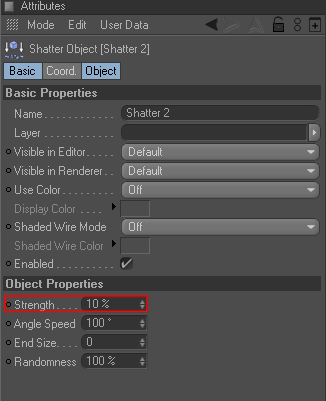
Change the strength of the “Shatter 1” object to 20 %, and the strength of the “Shatter 2” object to 10%
Select both Shatter objects and copy them twice, now place a Shatter object in each copied text object (match them up according to their number as shown)
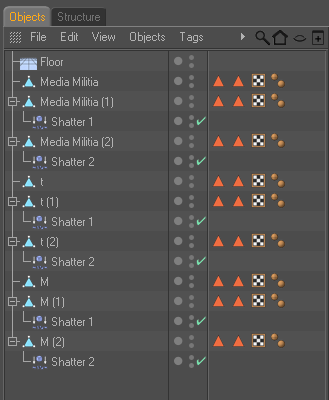
Now select all of your text objects ending with either a 1 or a 2 and take the Live Selection tool
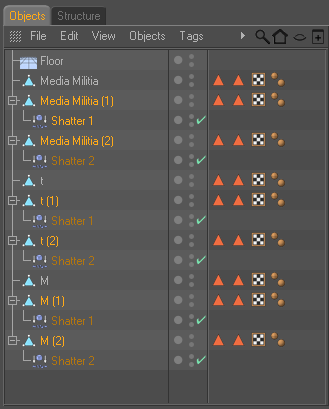

And move the “green axis” up 14.3 points, so that it is on top of the original text object
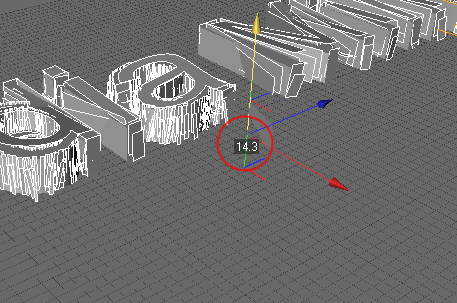
Go into top view, take your Polygon tool and select all your text objects ending with “1”

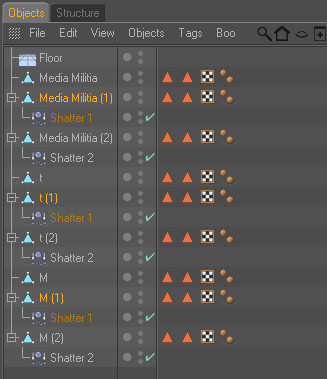
Make sure you have no polygons selected (left click anywhere on your canvas to de-select any polygons you might have selected)
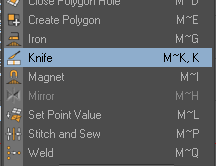
Right click on your canvas and select “Knife” (make sure the visible only is checked)
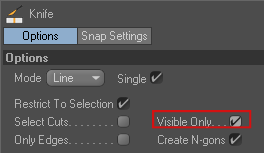
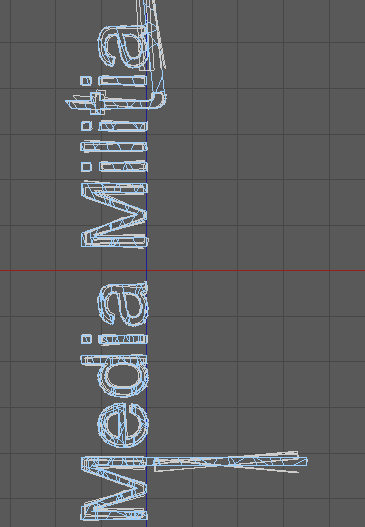
Now start randomly cutting from one side of your text to another, do this around 30-60 times (this will make the shattered pieces smaller)
Make sure you don’t leave any long polygons like the extruded M and T uncut

Keep cutting until you have something like this
Now do the same for the text objects ending with “2”
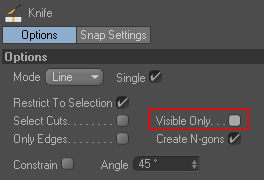
After that go into side view and start cutting up the text objects ending with 1 and 2 just as we did earlier (make sure to un check the “Visible Only” box)
Now select all your “2” text objects and scale up the green axis using the scale tool
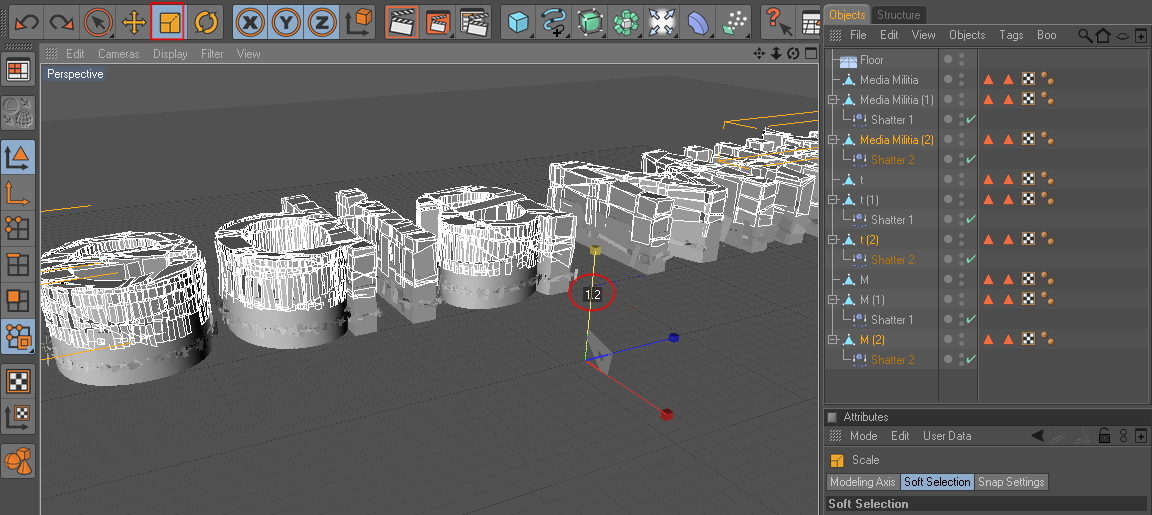
Then move it down, so that the top of the letters are slightly on top of your original text
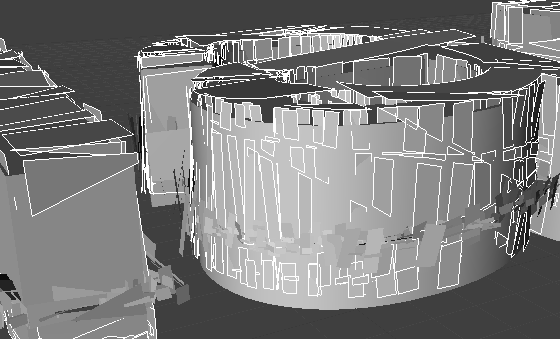
Now take all the “1” text objects and scale them up as well

Then as we did before move them down, so that the top is a little higher then the original text
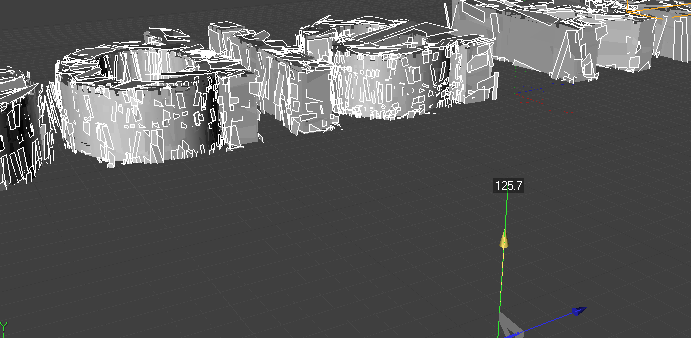
Step 2: Adding Light and textures to our image

Make a basic light
Make three copies of it, and name them 1, 2, 3, 4 accordingly
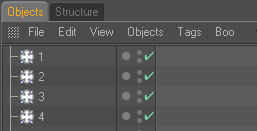
Change the Intensity of the first three light objects to 45% and change the intensity of the 4th light to 70%

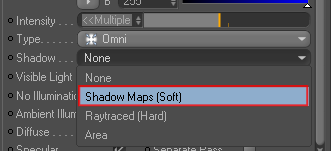
Now select the 2nd 3rd and 4th light objects and change the shadow to “Shadow Maps (Soft)”
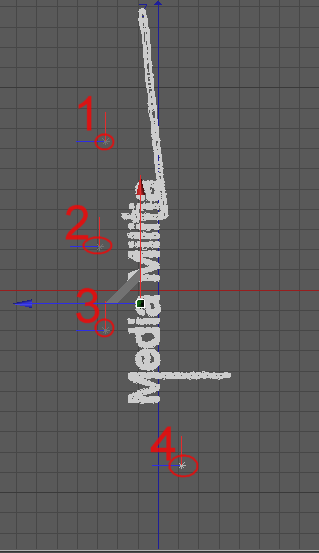
Now go into top view and move each light as shown below
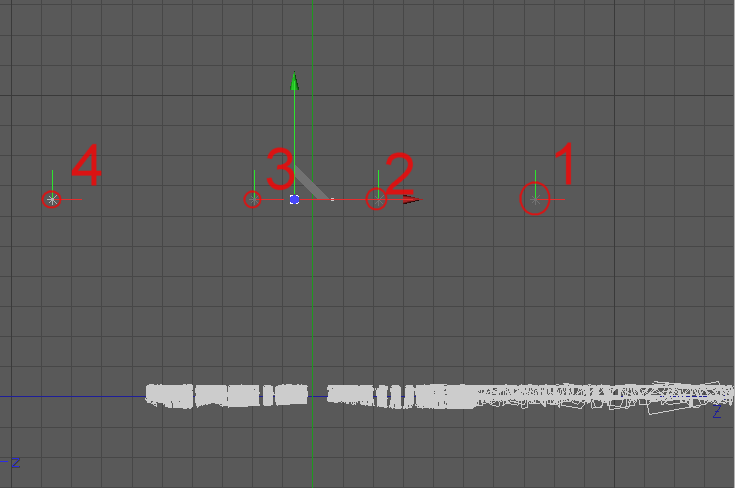
Go into side view, select all your lights and move them up a bit as shown
Now we are going to make the materials for our floor and for our text
Start by making a new material
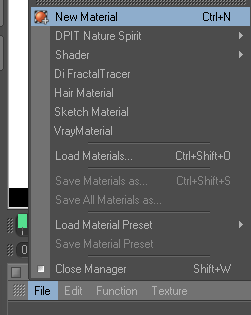
Double click on the material (to open the material editor) and change the color to the following
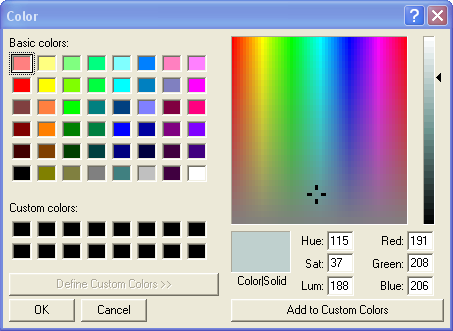
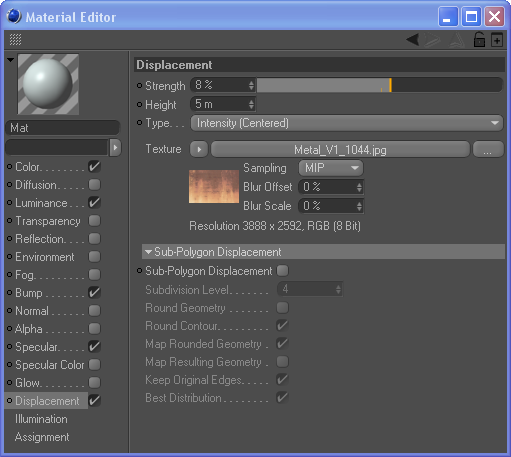
Now check the boxes for Luminance, Bump, Specular, and Displacement
Change the settings to the settings shown in the screen shots below (In the bump and displacement options you will have to load in the metal texture image)
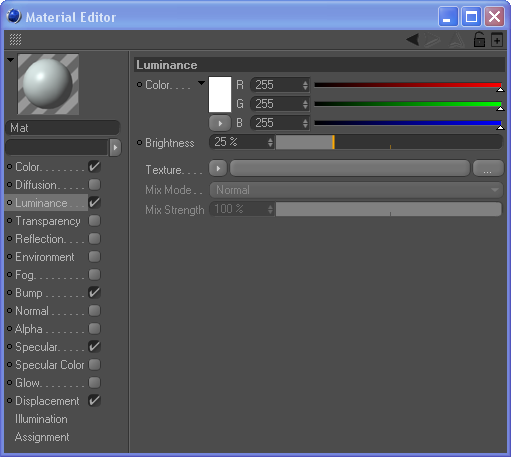
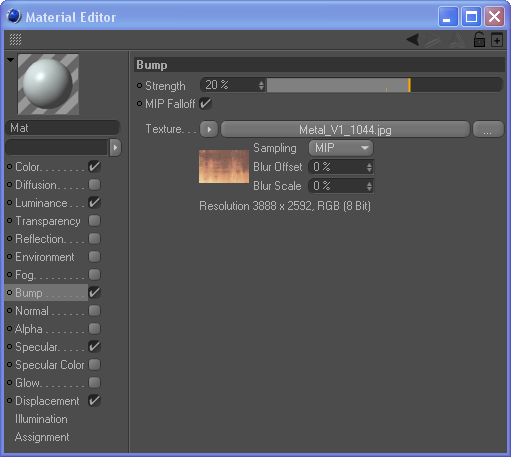
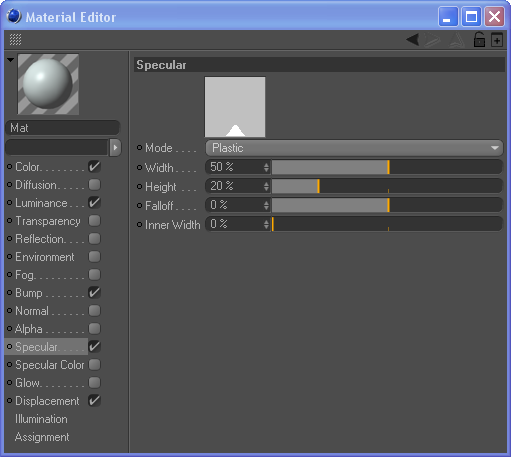
Now close the material editor, and drop the material onto the floor

This next part isn’t necessary but it gives your text a nice touch, it does take longer to render though.
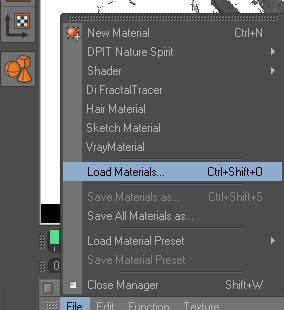
We are going to load our downloaded material and place it on all of our text objects
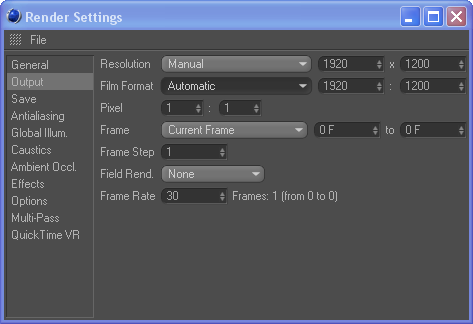
Go into the render settings, and change the Output to the following

Then we are going to put on Global Illumination and Ambient Occlusion (just click the check box on the top, leave all the other settings on default)

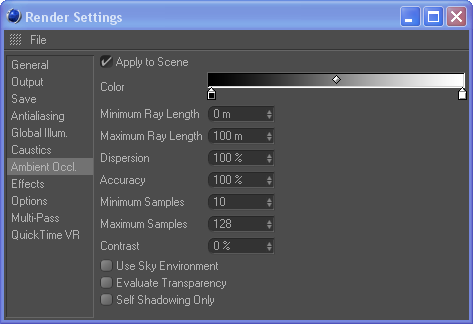
Before we render our scene we are going to set our perspective view on a nice angle, I put my picture on this angle
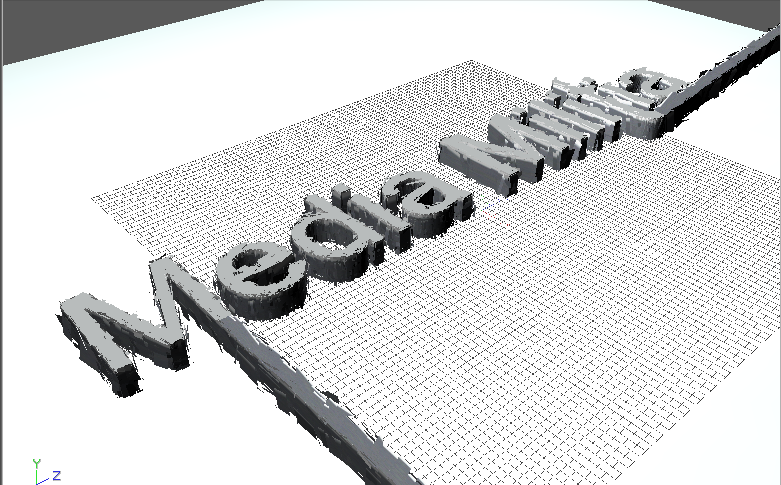
Now hit the render button

This can take quite a while, depending on how strong your computer is, but after that we are done with Cinema 4d and we will go play in photoshop ![]()
Once it is finished rendering save it as a jpg format, and 300 dpi (dots per inch)
Step 3: Editing the picture in photoshop
Open your image in photoshop
Double click your layer and name it “Base”
Make a new layer under your base layer and fill it with white
Now add a white mask to your “Base” and with a large soft black brush (bring the opacity of your brush down to 50%) start masking out the colored edges
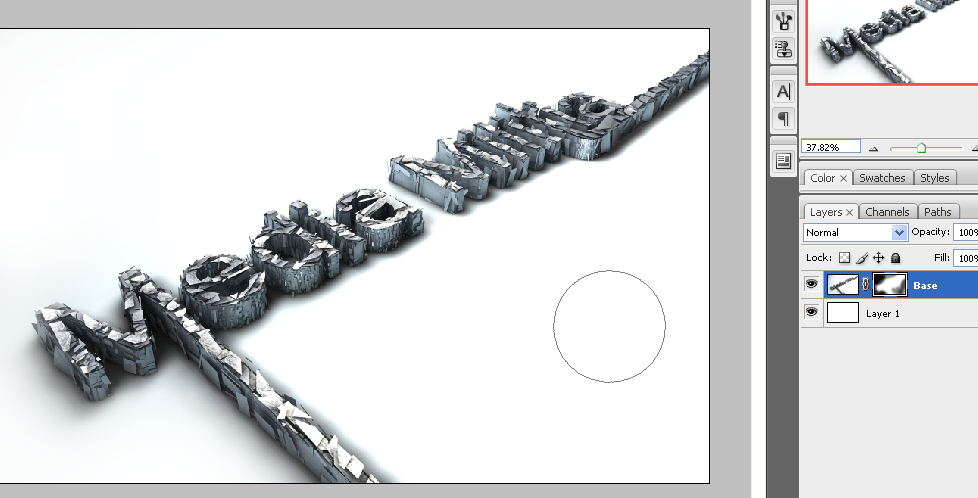
Now import your metal texture and resize it so that I covers the entire media militia text, desaturate the texture and change the blending mode to overlay.
Take your eraser tool and delete any harsh exteriors
Take your base layer and go to Image>Adjustment>Curves and change the settings to something like the following
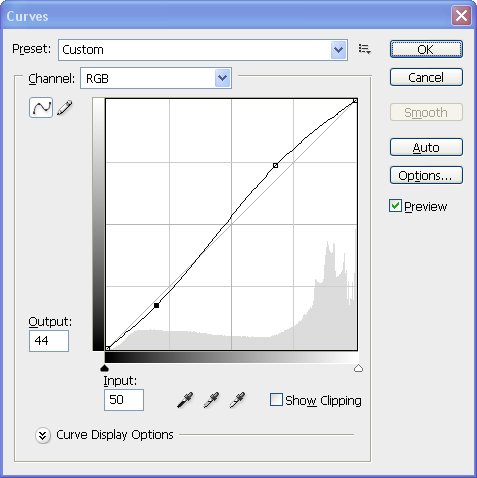
Now import your ink texture, rasterize it, and name it Ink. Make sure you place it underneath the metal texture
Change the blending mode to multiply
Add a mask to the layer and get rid of all the dark areas surrounding the actual ink
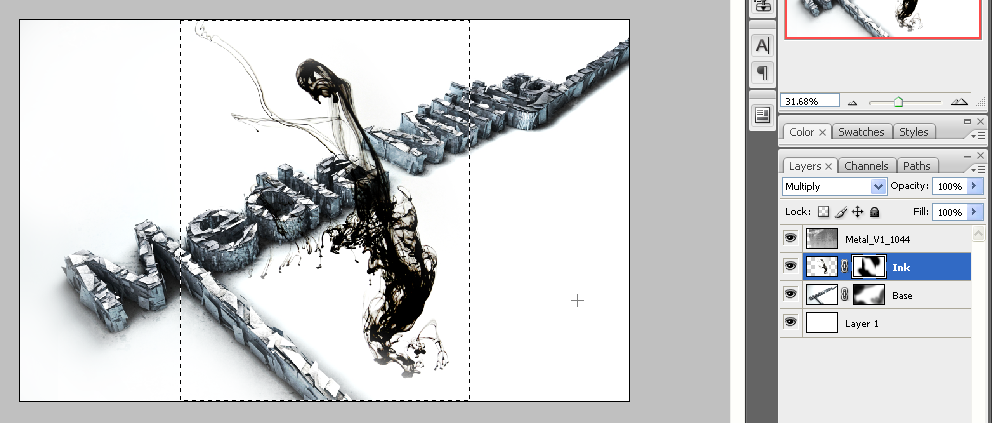
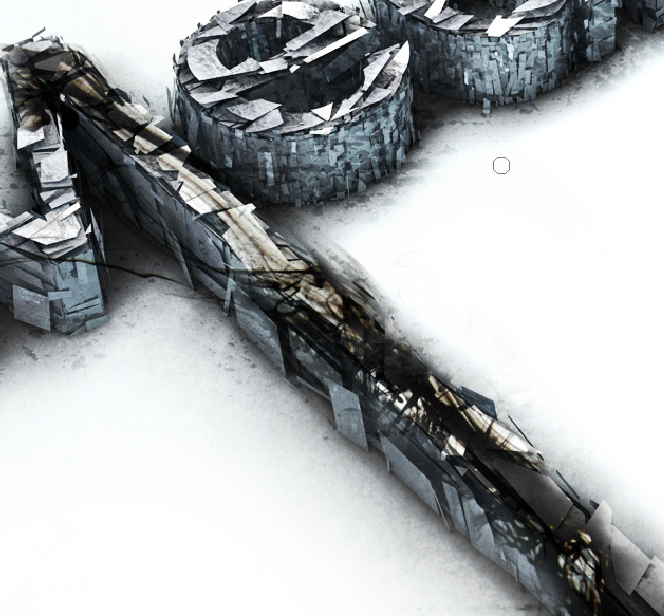
Now duplicate this layer and hide the original, rotate and move your copy so that it is on top of the text, then with a very soft brush mask out the parts that stick out from the text.
Then after that change the transparency to 5%-50% (change it around so that you get a random look) and with a small brush start brushing the edges of the ink that is on top of your text
Duplicate your original ink texture and cover another part of the text and repeat the same process as with the other ink texture. Do this until all your text is covered with ink textures.
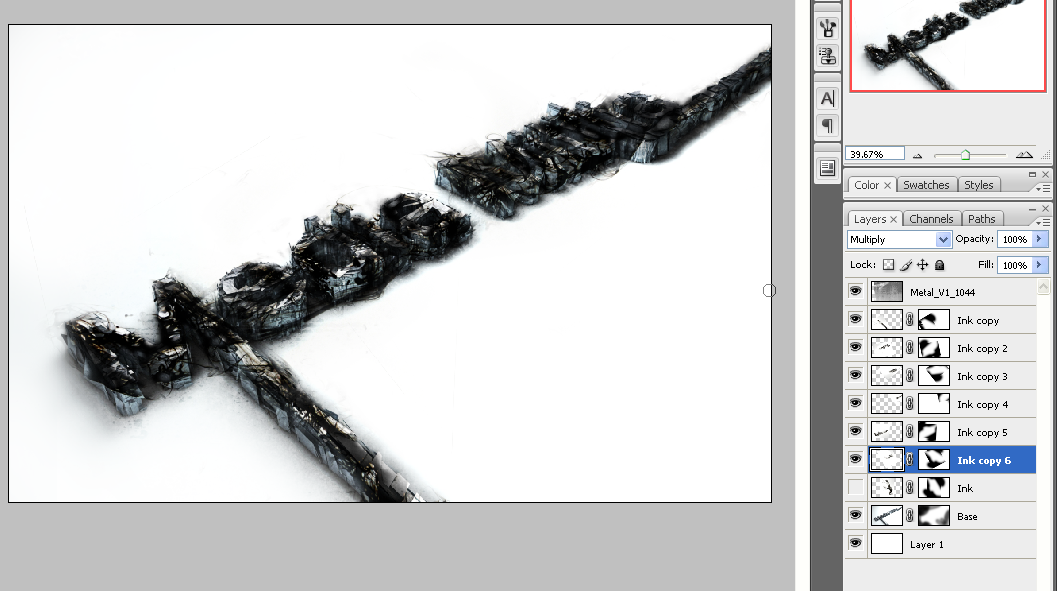
Now select all your ink layers and add them to a group, name the group Ink.
Change the opacity of your ink group to 40%
Now make a new layer, name it Shadow, and with a black color and a soft, big brush add a line around the text as shown:
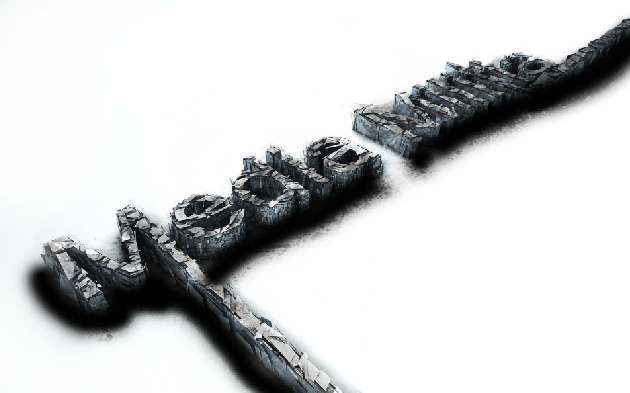
Add a Gaussian Blur, 17 px, and bring down the opacity to 30 percent. Now delete any parts of the shadow that you don’t like with a big soft brush
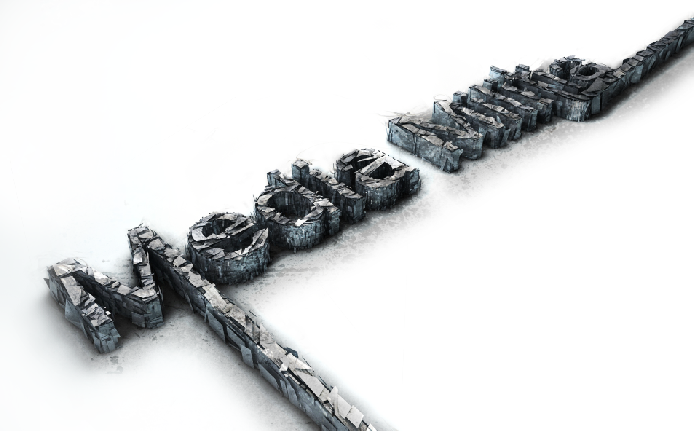
And we are pretty much finished
If you want to go even further you can take the dodge and burn tools and make some highlights on your Base layer


No comments:
Post a Comment